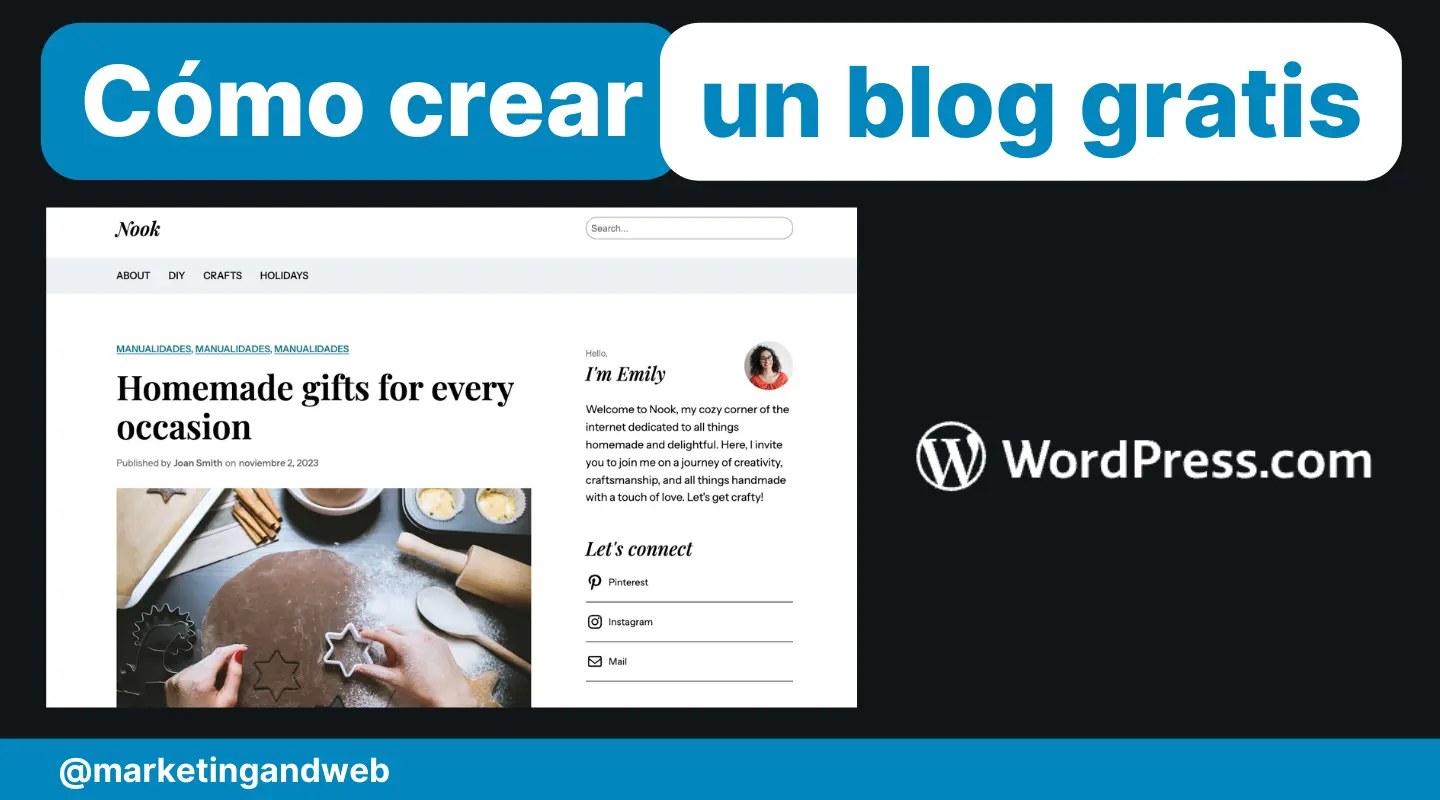

Want create a free blog and you don’t know how?
Don’t worry, you’re in the right tutorial. We have created more than 100 blogs over the years, and in this guide we are going to show you how you can create your blog for free using WordPress.com.
But, first of all, did you know that there are two WordPresses? Let’s see the differences, so we don’t get mixed up.
Differences between WordPress.com and WordPress.org
WordPress.com y WordPress.org They are two platforms that offer the possibility of creating and managing websites with WordPressbut they operate differently.
The main difference between the two is who hosts the website and the customization possibilities.
- WordPress.org It is open source software that you can download for free and host on your own server. This allows you a total freedom to customize your website with plugins, themes and customizations at the code level.
- On the other hand, WordPress.com is a hosting service that offers a more limited version of WordPress. The positive part is that this service simplifies the process of creating and maintaining a website, managing hosting, security and updates for you, but in exchange, it limits the customization and control you have over your site.
| Feature | WordPress.org | WordPress.com |
|---|---|---|
| Accommodation | On their own | Provided by WordPress.com |
| Cost | You need to buy hosting and domain | Free with payment options |
| Personalization | Total, with access to all plugins and themes | Limited, depending on plan |
| Maintenance | On behalf of the user (updates, security) | Powered by WordPress.com |
| Monetization | Complete freedom to monetize the site | Restrictions according to the plan |
| Ownership and Control | Complete about the website | Depends on WordPress.com terms of service |
| Easy to use | Requires more technical knowledge | Easier for beginners |
If your idea is to make a simple, uncomplicated blog, and you don’t want to get into technical topics such as server management or installing WordPress yourself on your hosting, then the preferred option will be WordPress.com.
But if you want full control over your blog, paying for hosting and domain yourself, then you should install WordPress.org on your own server.
Sign up for free at WordPress.com
In this tutorial we will see the different options that WordPress.com offers us to create a blog, and although it has a free plan, it has certain limitations that may make you consider choosing a paid plan:
- Free: You can create your blog at no cost, although it will have ads, and instead of being a domain like “yourweb.com”, it will be part of a subdomain of WordPress.com that will always end with the “yourweb” format.wordpress.com“
- 4€/mes (Starter): you will have your blog without ads and with your own domain. It is the preferred option if you want to create a blog without annoying ads and with an easy-to-remember name, like “tublog.com.”
- 8€/mes (Explorer): you can earn money by placing ads on the blog, provided by the WordAds company. They also give you more customization options for the blog design.
- 25€/mes (Creator): greater security and speed on the server. For practical purposes, it could mean that the website loads a little faster.
- 45€/mes (Entrepreneur): allows you to create an online store with Woocomerce to sell products.
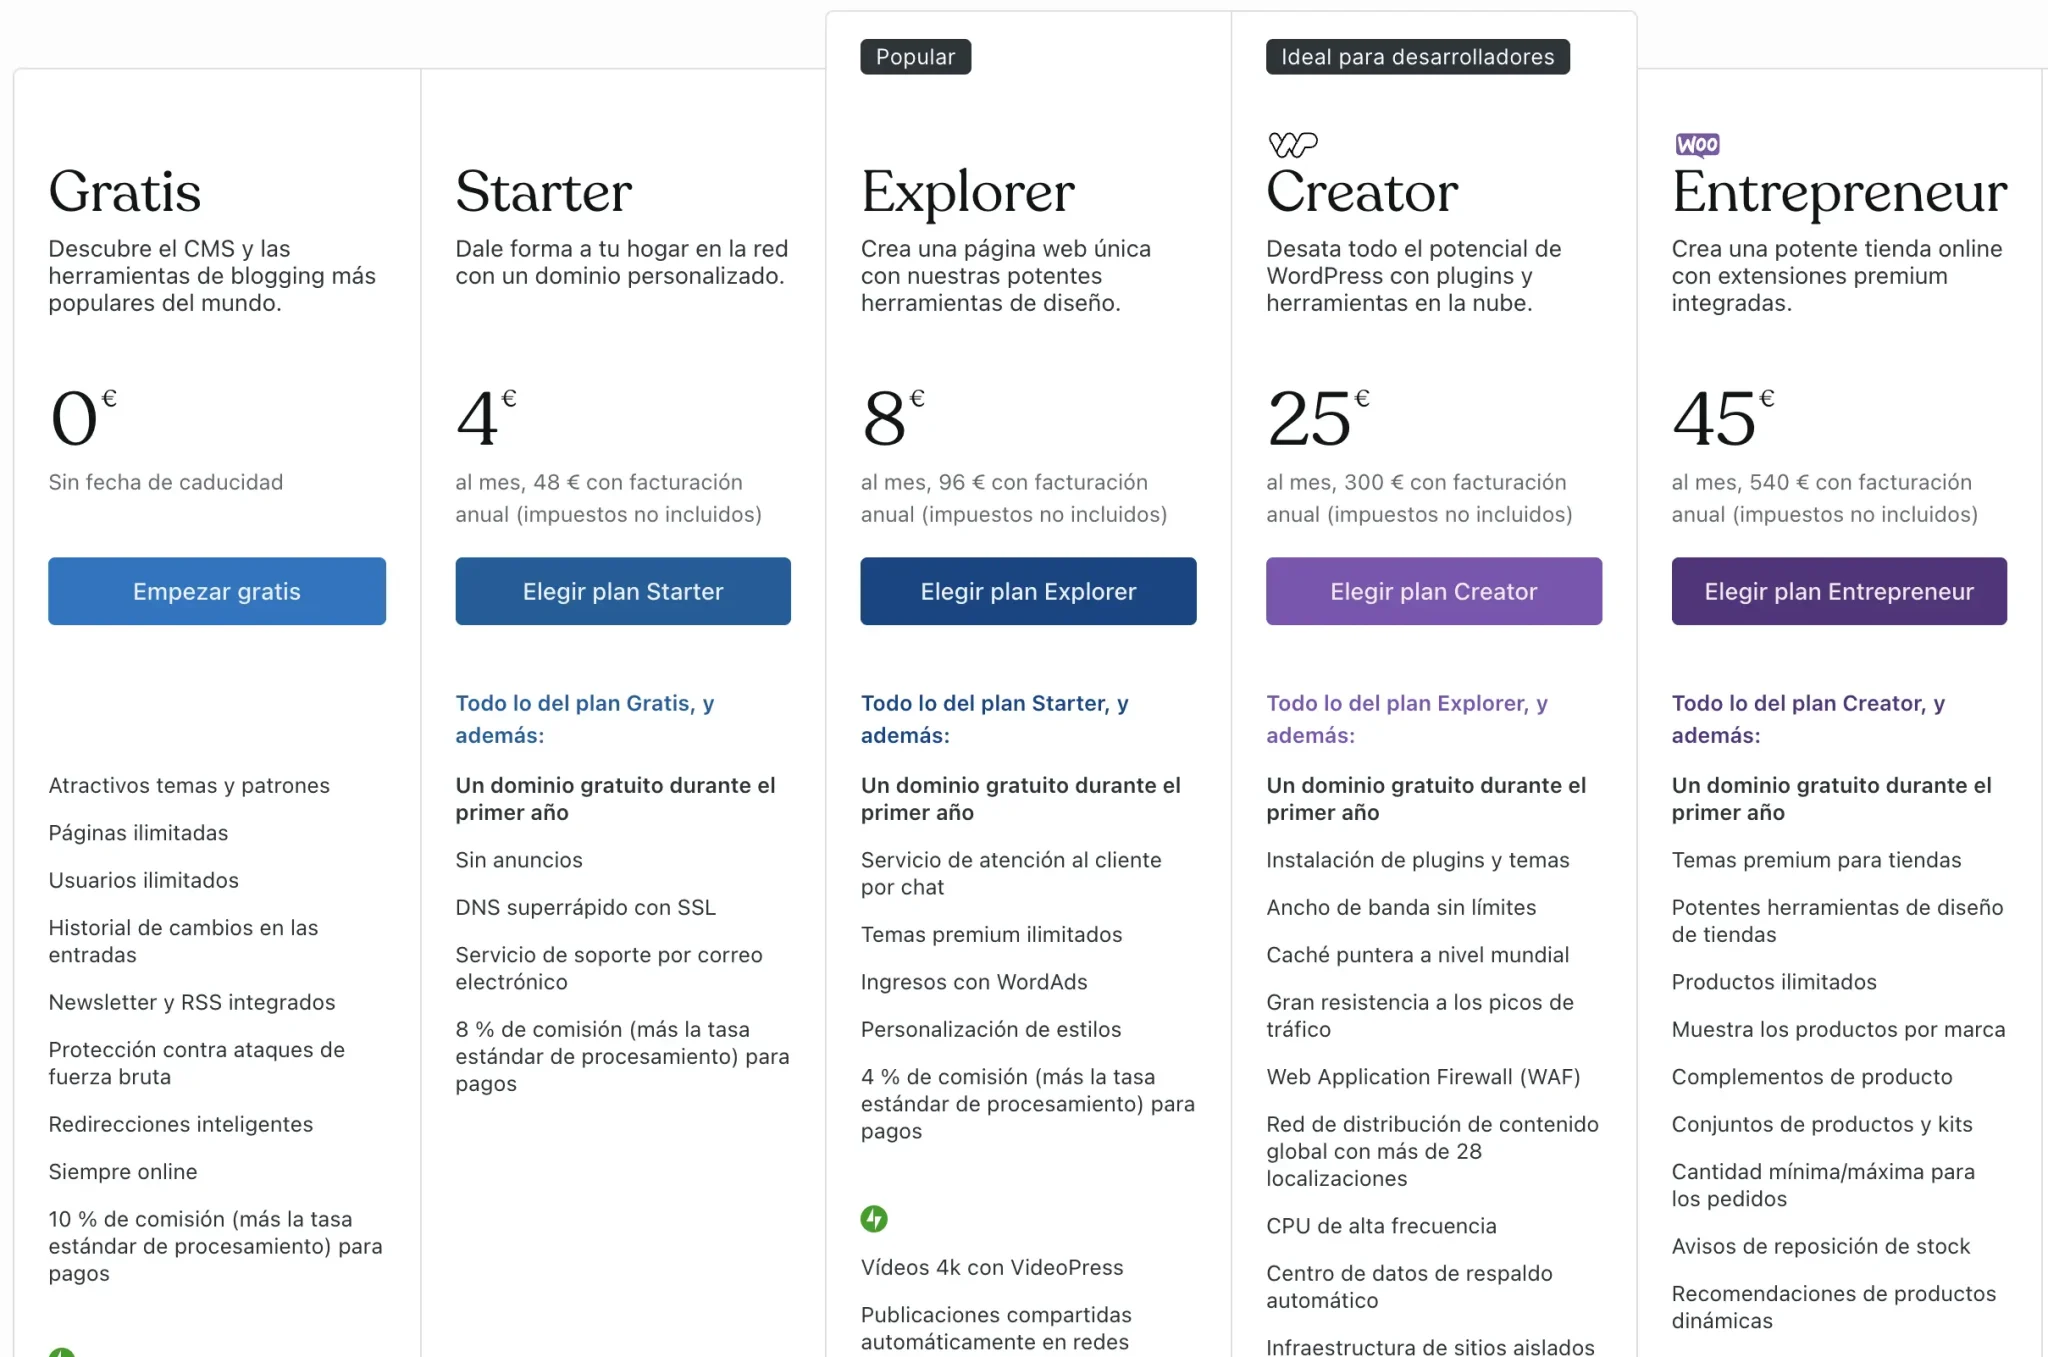
Which one would I choose?
Well then: If it is for a personal project without much ambition I would stick with the free plan, even if it has ads or the name is somewhat cumbersome, like “my-marketing-blog.wordpress.com.”
On the contrary, If I want to build a powerful personal brand and for it to be my showcase to get clients or referrals, then I would opt for the Starter plan of €4/month, since this way I will obtain my own domain (my-marketing-blog.com) and the annoying ads will be eliminated.
Later, If I wanted to make money with my blog By placing my own ads, I would go for the €8/month Explorer plan, but first I would make sure I had hundreds of daily visits to get a halfway decent income.
Set a free name and domain
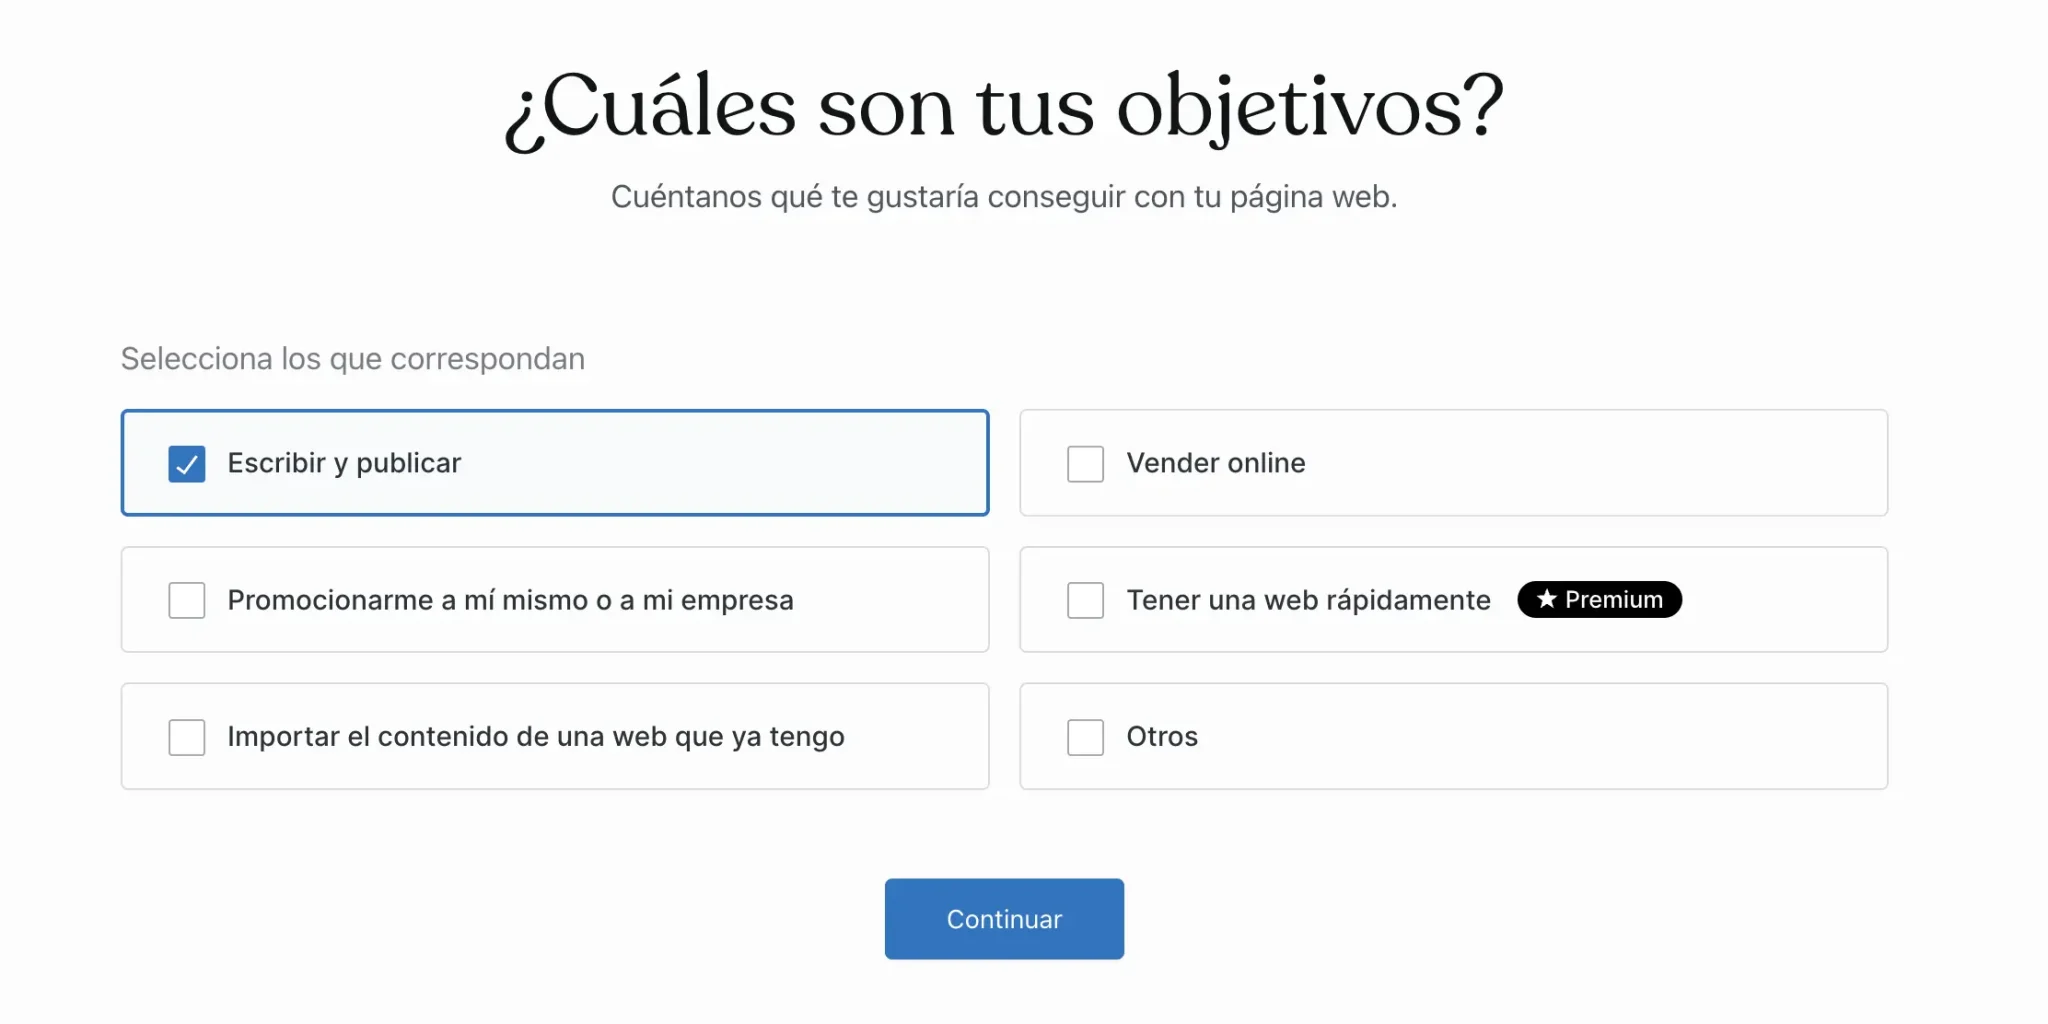
Now that we know the plan we will opt for, and assuming that we have chosen the free option, they will ask us secondly for the objectives of our blog.
This has no major significance, only that if you choose that you want to sell online they will tell you to pay a higher payment plan, so we will choose “Write and publish” so that they don’t give us the trouble.
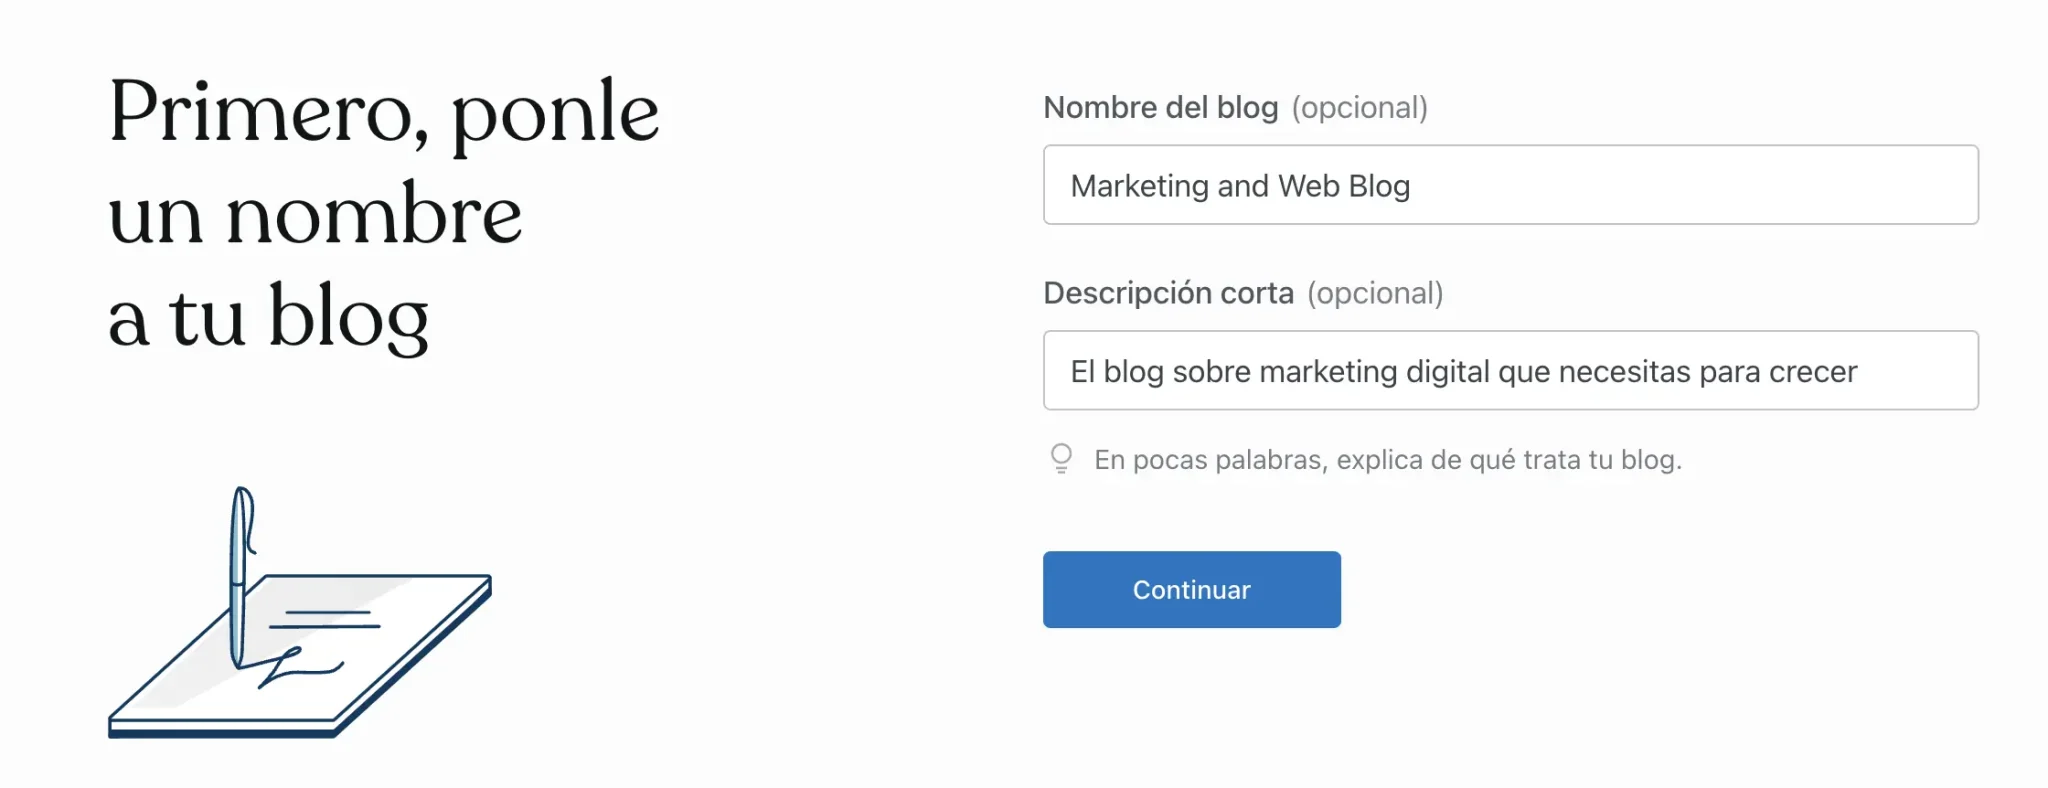
Right after, the next step will be to establish the name of the blog and a short description. You can leave it blank and fill it in later, but it would be nice if you had these parameters defined from the beginning.
Continuing with the step-by-step tutorial, now it’s time to decide the web address or domain of your blog. Remember that in the free plan it will always be “yourname.wordpress.com“, while if you chose a payment plan, you can choose a better one like “yourname.com” simply.
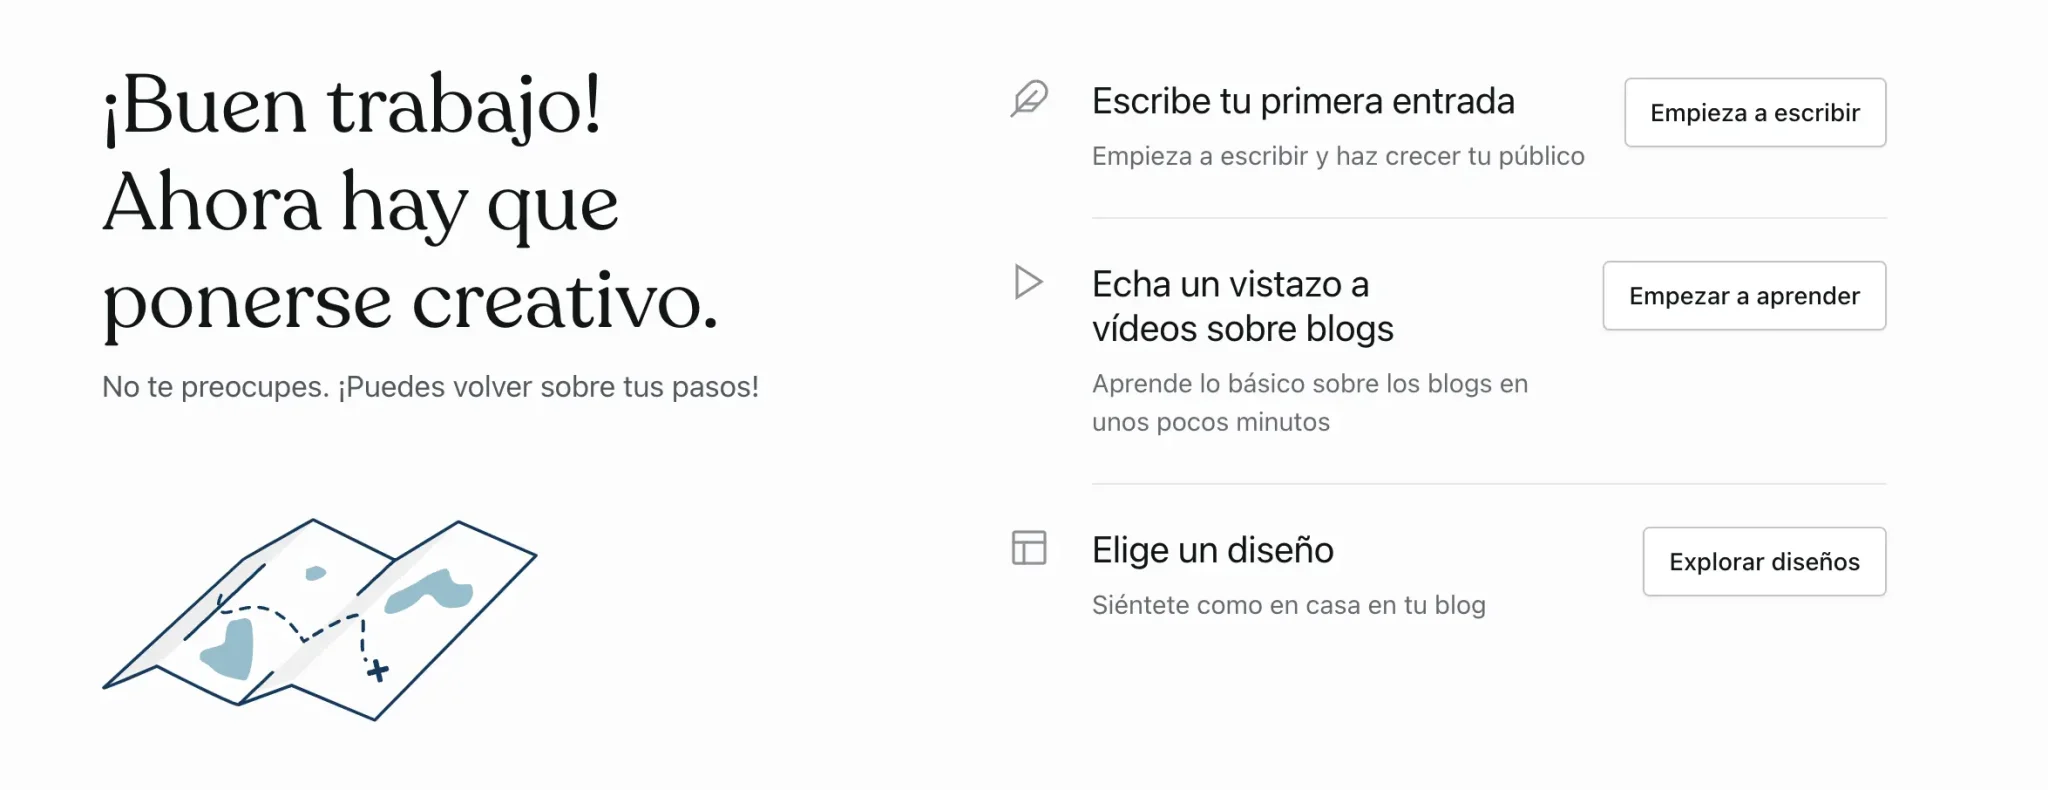
Once this is done, it is time to take action.
They will give you several options, but to go step by step, first we will choose a design to put our blog at the discretion of each one.
So, we will now delve into this aspect of the design. Let’s continue!
Customize your blog theme
Once you access the option to explore designs, you will find multiple free templates.
Of course, check that the paid label does not appear next to its name, since otherwise you will not be able to use that design in your free WordPress.com plan.
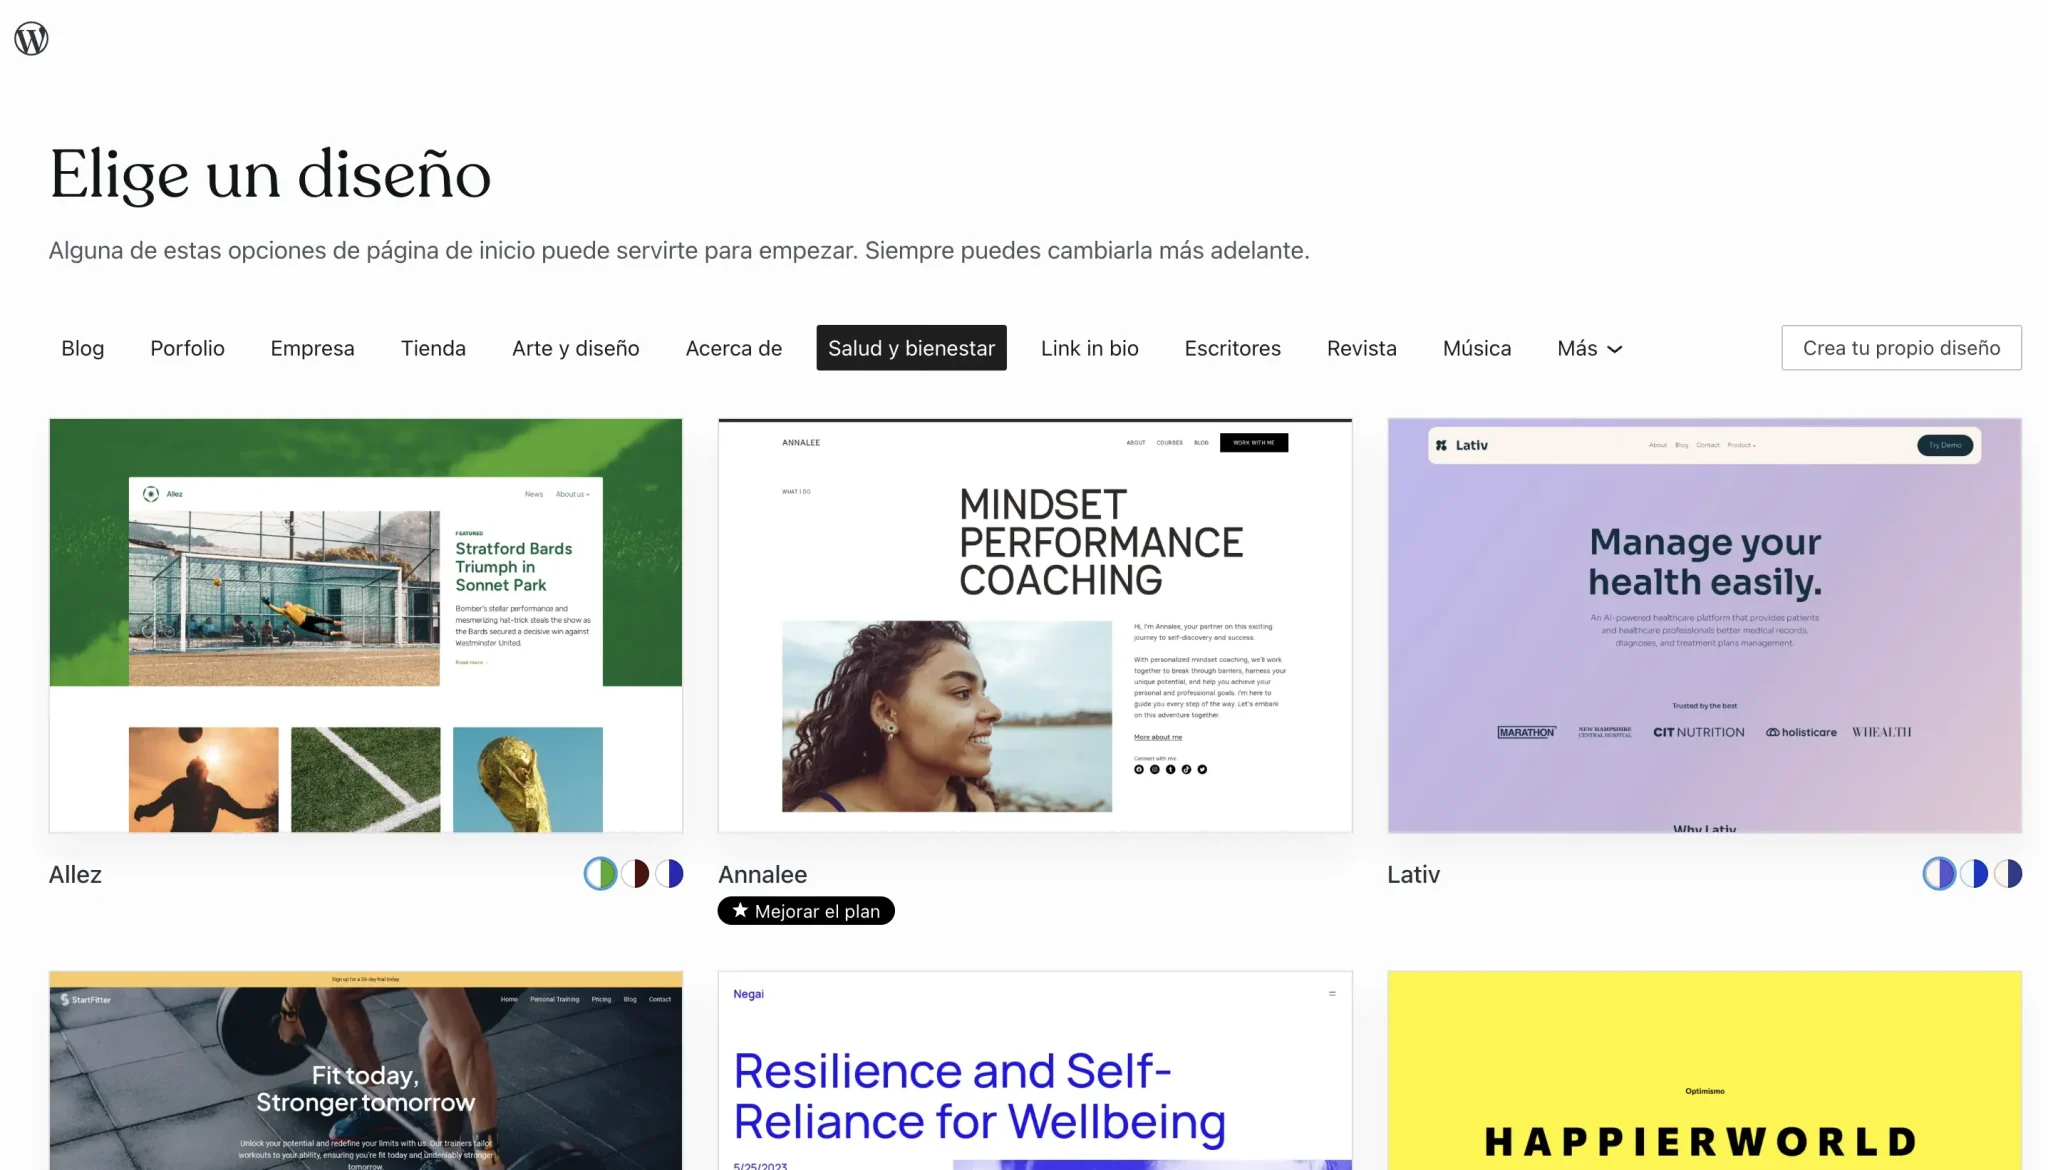
You will find various categories, such as designs for:
- Blogs
- Portfolio
- Company
- Store
- Art and Design
- About
- Health & Wellness
- Link in bio
- Writers
- Magazine
- Music
- And more…
My favorite categories are usually blog and magazinebut you can find very interesting designs in any of the others.
At a stylistic level, I also tend to opt for simple layouts, without much color load so as not to saturate, although at the same time elegant.
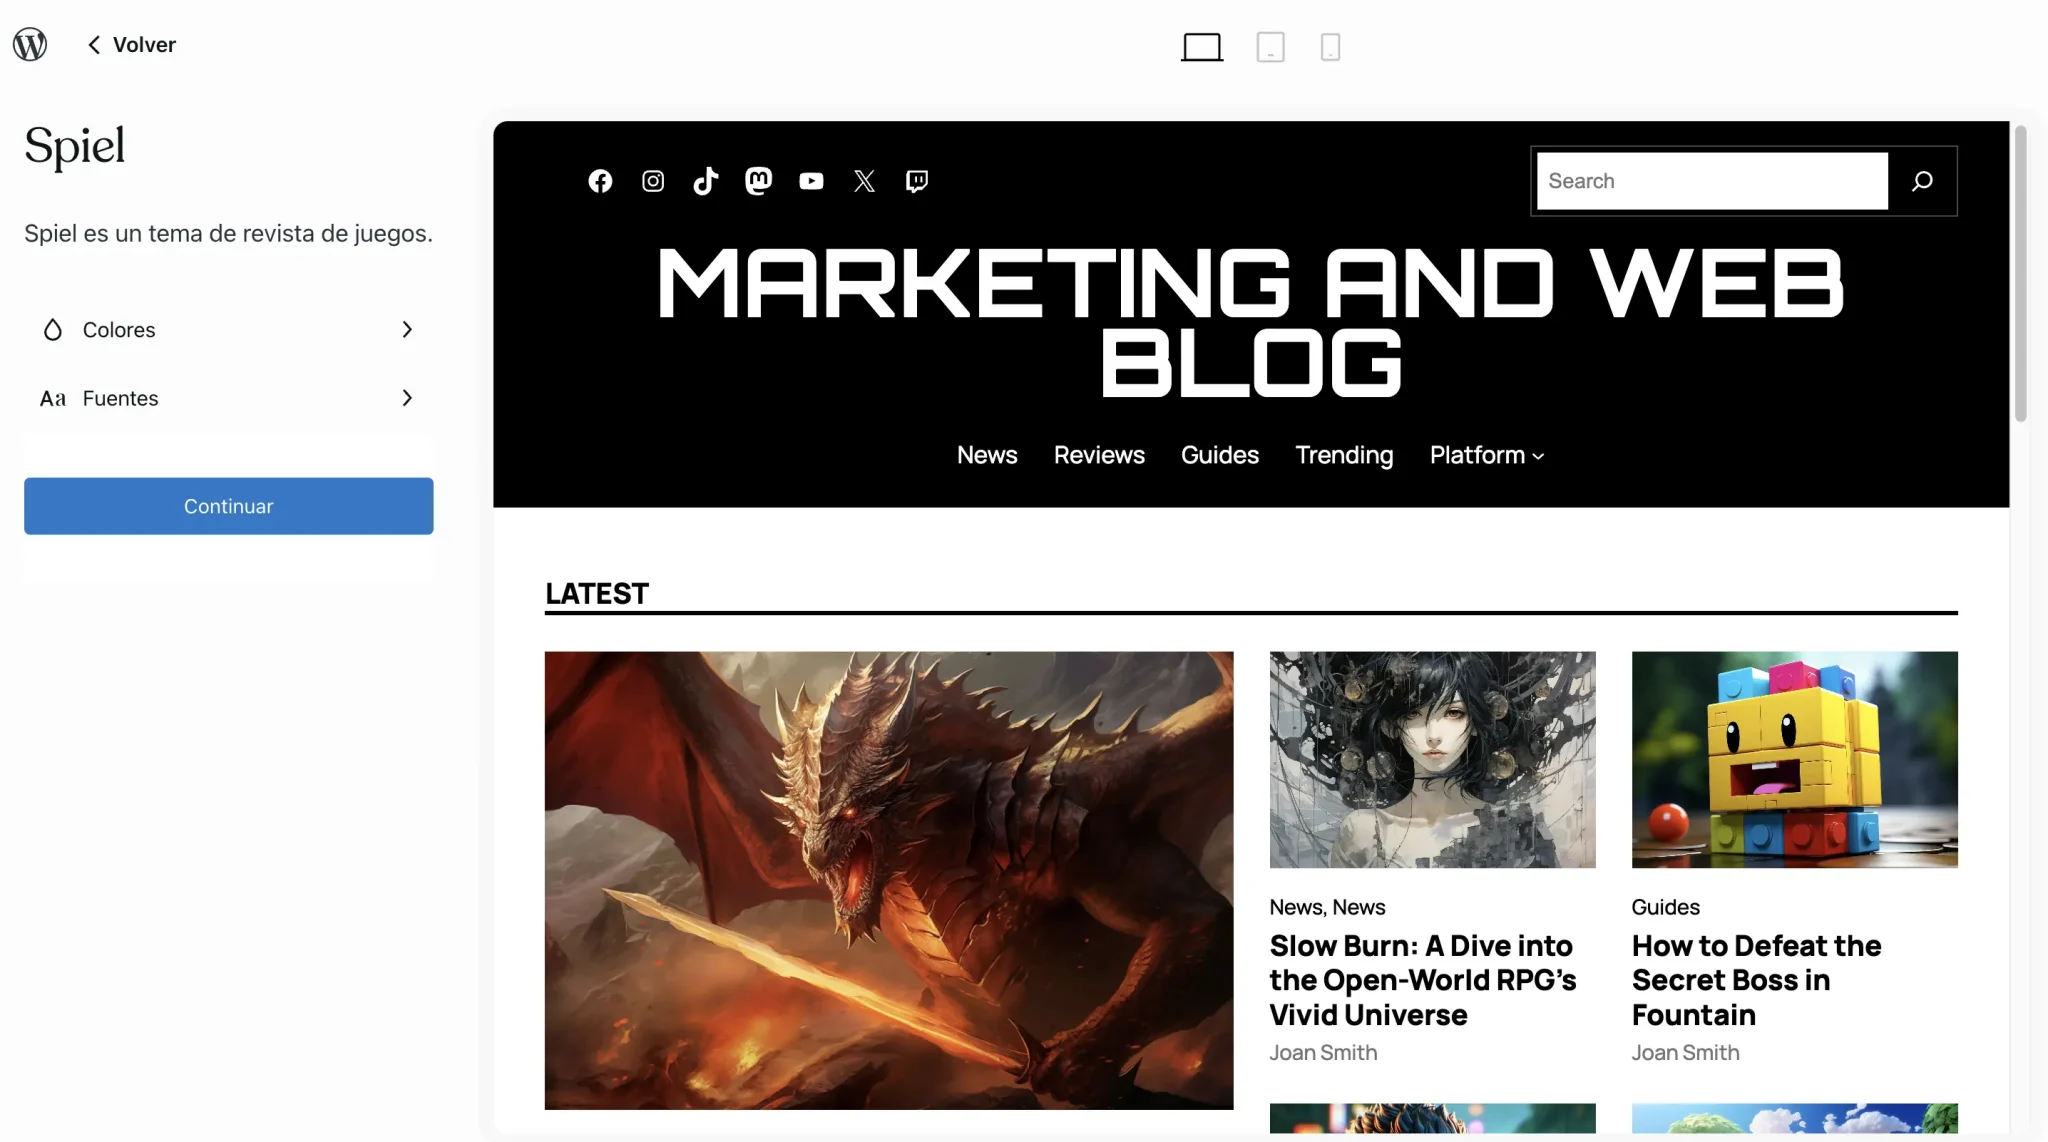
At the level of customization, in the free WordPress.com plan we can customize few things, but the letter colors and fonts Yes, they let us change them to our liking.
Write your first entry or article
The entries are what we commonly know as articles or posts. Basically, the content that we are going to upload to our blog.
Its operation is very simple, and it is through blocks.
A block can be a paragraph of text, an image, a video, a listing, or a header.
To add blocks, such as paragraphs of text, you can click on the blue “+” icon that you will see above, or by writing a diagonal slash / so that the most common ones are suggested.
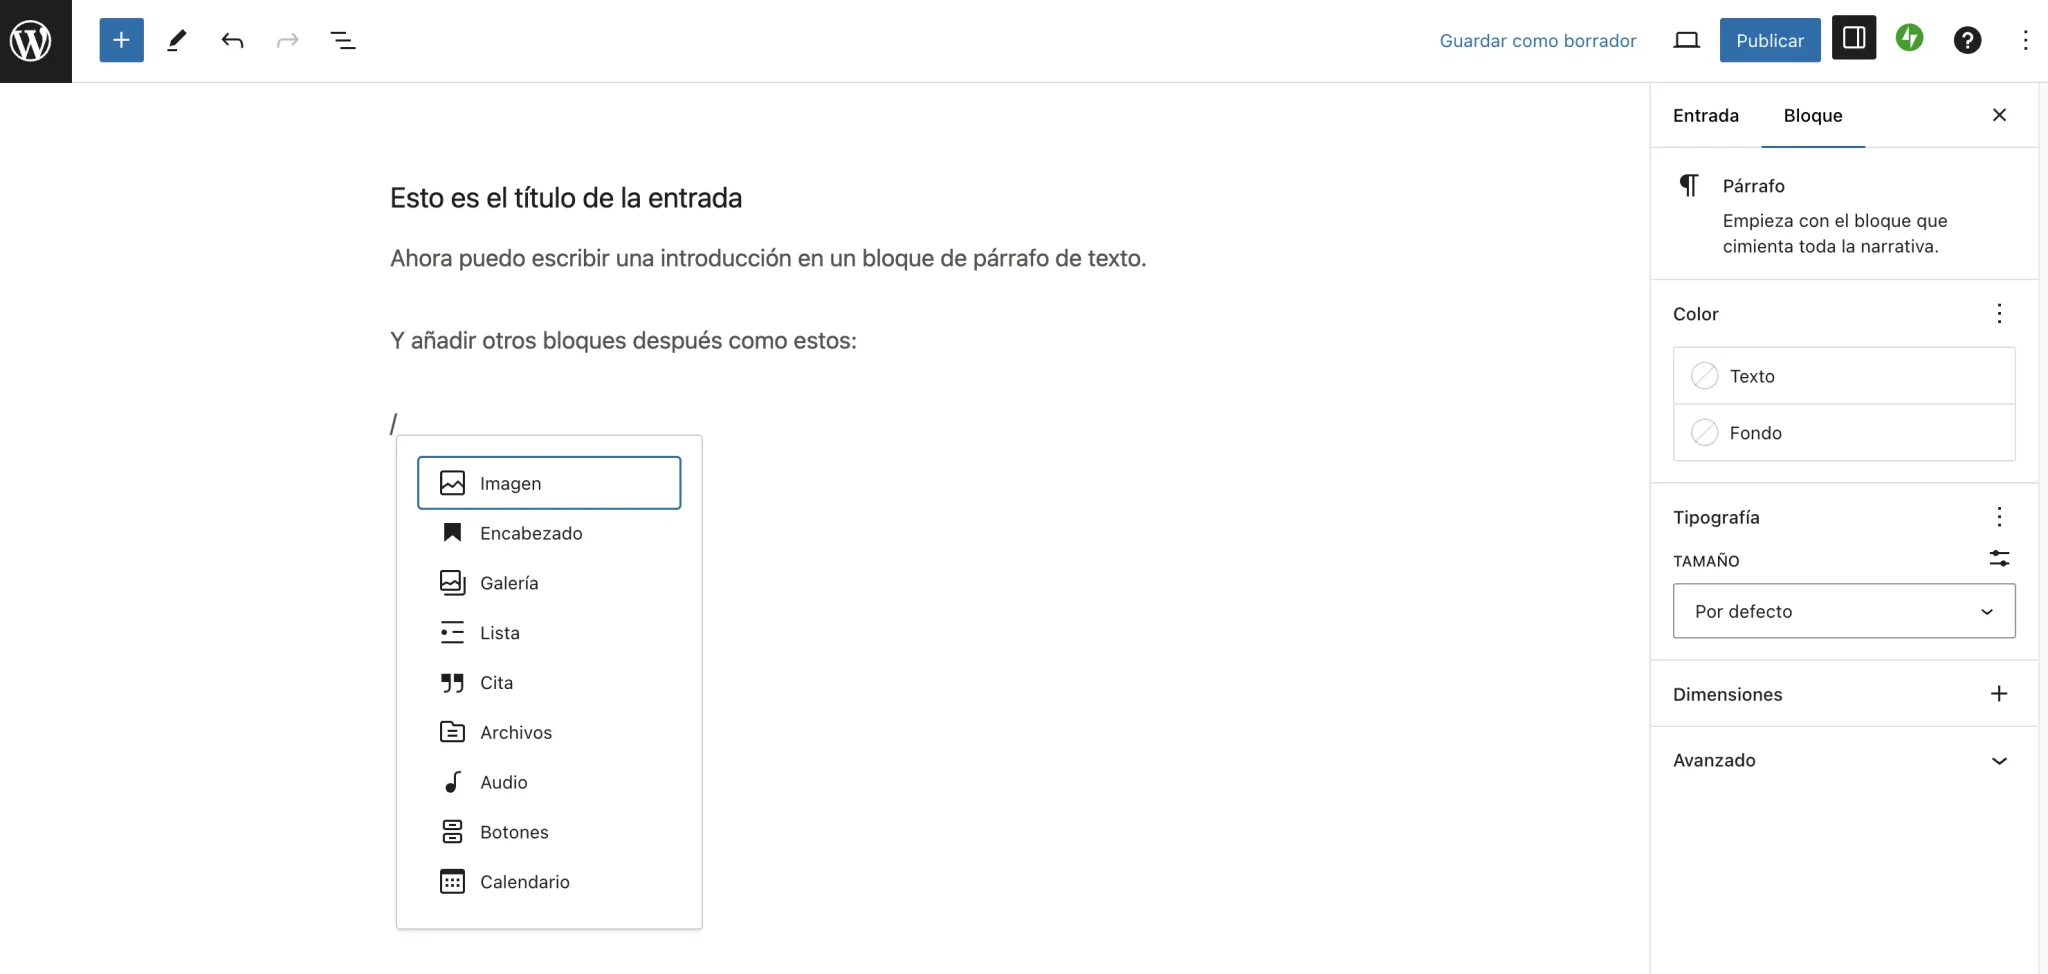
Los available blocks to layout your entries are:
- Paragraphs of text
- Headers
- Lists
- Other
- Buttons
- Images
- Image gallery
- videos
- And a long etcetera…
On the other hand, you have the pages, which are like entries but with more static content. These pages are usually: contact, about me, cookie or privacy policy, etc.
The WordPress.com Control Panel
Now it’s time to get to know the WordPress.com control panel. That is to say, our dashboard and from which we will do everything.
As you can see, there is a left sidebar from which we can access any administrative section of our blog: to write more posts, change the design or appearance of the blog, moderate comments, add basic plugins, or change settings.
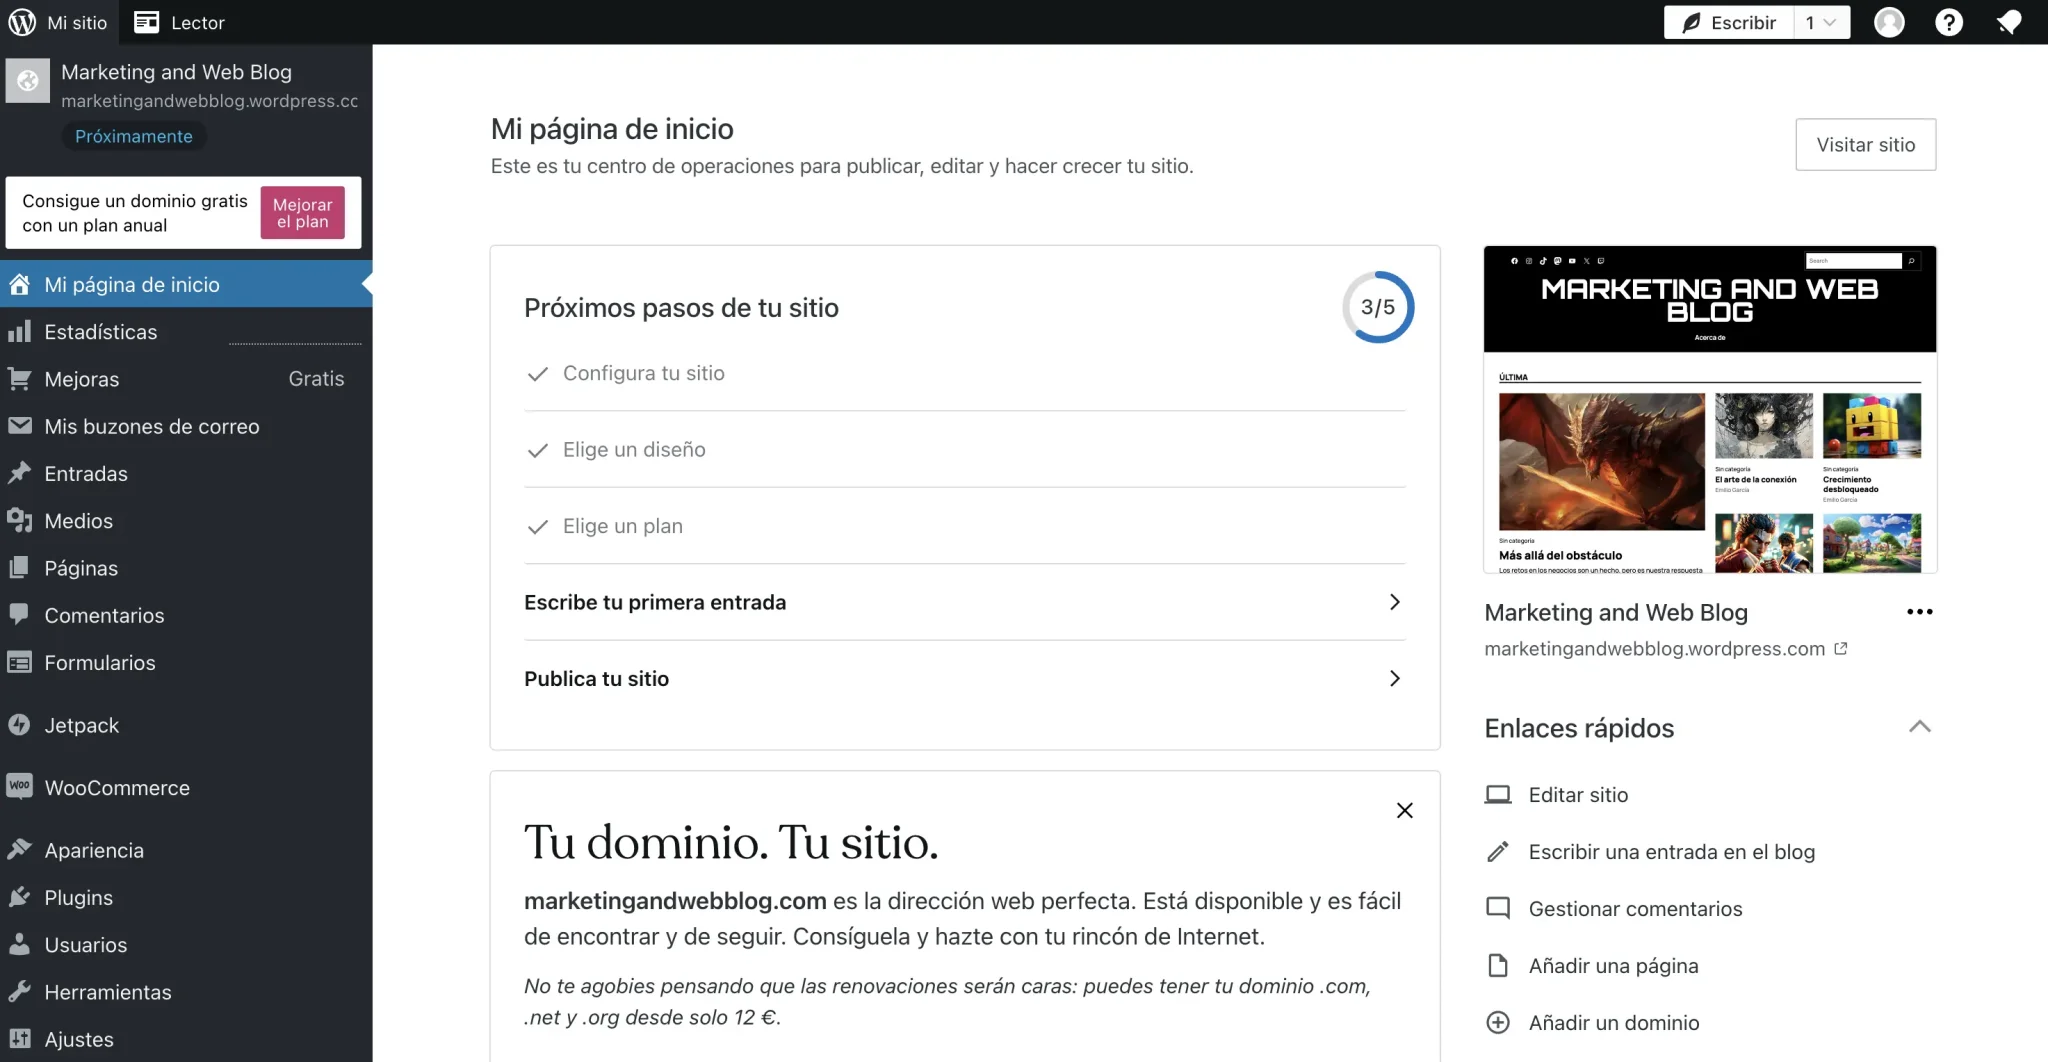
In fact, since you have your design selected and some input, it would be a good time to:
- Set up a main menu for your blog, from Appearance.
- Create main categories for your posts, from Appetizer.
- Create a contact form and put it on a contact page, from Forms.
- Find out which basic plugins you are allowed to install in case you are interested in any, from Plugins.
- Manage access for other users so you have more editors or administrators, from Users.
Taking this into account, you now have the basics for your blog to start functioning normally.
Publish your blog on the Internet
However, our blog is not yet public on the Internet. We have to publish it.
To do this, you just have to enter the WordPress.com control panel that we saw before and, in Settingsselect the option to publish it.
If not, on the home page screen you will also see a series of steps, and the last one will be a button to make the blog public on the Internet.
My recommendation is that publish the blog once you have a minimum of quality articlesso that the first impression that Google or a user has about your website is very positive from the beginning.
For example, I usually wait until I have 5 good articles so that, when they meet me, they already have a minimum of good content to read.
Next steps to be successful with your blog
This is just the beginning of a long road you still have to travel: now is the time to follow recommended practices to get more and more readers.
Here are some resources that may help you:
From now on, you set the limit: what do you want to write about, and with how much quality? It’s time to make history with your blog.
SEO Podcaster at Campamento Web, the most listened to SEO news and interview program in Spanish. Graduated in Communication from Loyola University, teacher and SEO consultant, he has focused his areas of specialization in the field of communication and web positioning for more than 10 years.
Source: https://www.marketingandweb.es/web/crear-blog-wordpress-com/